My Tag Blog

Favorite Stores


Sites I visit


Thursday, March 13, 2025
EggsTra Special

This tutorial was written by me on March 13, 2025. The results are of my own imagination. Any resemblance to another tutorial is purely coincidental.
Please DO NOT claim this tutorial as your own.
This was written assuming you have a working knowledge of PSP.
Please keep in mind that I write the tutorial as I am creating the tag.
Sometimes I may not explain properly where to place things so please see my example if you are ever in doubt :)
Supplies needed
I am using PSP 2018 but this tutorial should work with any version.
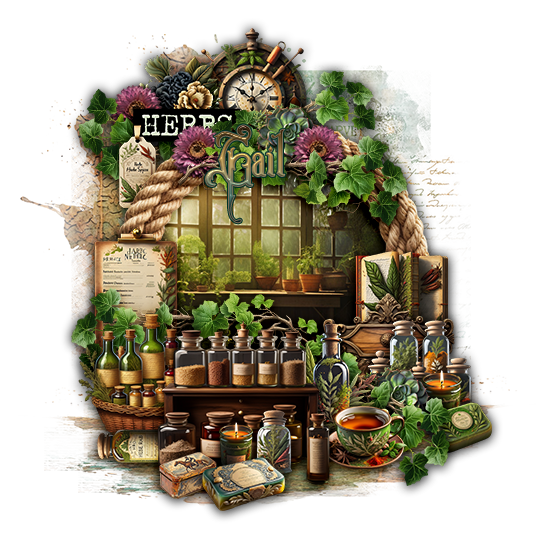
PTU Kit: I am using a fabulous kit called "EggsTra Special" created by Bella Caribeña. I am using a Goldwasser tube included in the kit. You can purchase it here.
Font of choice for your name.
Plug in: None
Drop shadow of choice. I am using Vertical 0, Horizontal 5, Opacity 65, Blur 10, color black.
I use Vivienne’s drop shadows quite a bit as I really like the look of her shadows. Thank you for letting me use your settings for my tutorials.
An image can get blurred when you resize an element or tube in PSP. I use unsharpen mask for each item. Vivienne has wonderful tips and tricks on how to do this here.
Please read all the Artist's/Designer's TOU.
Let’s get started.
Open a new 800x800 transparent image. We will resize later. Flood fill with white.
Remember to sharpen and drop shadow each image as you create the tag.
Element 126 - Resize 50% and move to the top left of the tag. Drop shadow.
Element 26 - Resize 12% and move to the bottom left of element 126. Drop shadow.
Element 68 - Resize 8% and move to the bottom right of element 26. Drop shadow.
Element 12 - Resize 50% and move to the right of element 126. Drop shadow.
Element 10 - Resize 40% and move to the bottom left of element 12. Drop shadow.
Element 2 - Resize 12% and move to the bottom left of element 10. Drop shadow.
Element 11 - Resize 20% and move to the bottom right of element 2. Drop shadow.
Element 105 - Resize 40% and move to the lower right of element 12. Drop shadow.
Element 3 - Resize 12% and move to the lower right of element 105. Drop shadow.
Element 99 - Resize 60% and move to the lower left of element 105. Drop shadow.
Element 27 - Resize 15% and move to the right of element 99. Drop shadow.
Element 15 - Resize 20% and move to the left of element 99. Drop shadow.
Element 112 - Resize 15% and move to the bottom right of element 99. Drop shadow.
Element 33 - Resize 20% and move to the bottom left of element 112. Drop shadow.
Element 9 - Resize 20% and move to the bottom left of element 99 by the egg. Drop shadow.
Element 22 - Resize 25% and move to the bottom left of element 9. Drop shadow.
Element 109 - Resize 15% and move to the bottom left of element 22. Drop shadow. Drag this layer under element 22 layer.
Select the top layer.
Element 91 - Resize 15% and move to the bottom left of element 99. Drop shadow.
Element 18 - Resize 15% and move to the bottom right of element 91. Drop shadow.
©Goldwasser_Tubes (1) - Resize 20% and move to the bottom left of element 99. Drop shadow.
Element 25 - Resize 15% and move to the bottom left of the tube. Drop shadow.
Element 20 - Resize 20% and move to the bottom of the tube. Drop shadow.
Element 29 - Resize 20% and move to the bottom left of the suitcase. Drop shadow.
Element 36 - Resize 12% and move to the bottom of element 29. Drop shadow.
Element 42 - Resize 20% and move to the bottom left of element 20. Drop shadow.
Element 34 - Resize 12% and move to the bottom right of element 42. Drop shadow.
Select the bottom layer.
Paste element 46 and resize 80%. Move to the top behind the house and waterfall. Using the pick tool, set to scale, pull the bottom of the mask up so it doesn't show under the elements. Duplicate and resize 80%. Move behind the stone stairs and little girl. Drag this layer under the first mask layer. Using the pick tool, set to scale, pull the bottom of the mask up so it doesn't show under the elements.
Select the top mask layer.
Element 75. Resize 40% and move under element 99. Duplicate this layer and move to the bottom of element 105. Duplicate this layer, mirror and move under the waterfall. Duplicate this layer and move under element 10.
Element 75 again. Resize 60%, mirror and move under the tube.
Crop and resize your tag. Be careful not to crop off any shadows or mask edges. I resize mine to 650px on the width (if needed) as that is what fits my blog best.
Add your name and copyright.
Hide the white background and save as png.
I hope you have enjoyed my tutorial. I would love to see your results.
Subscribe to:
Post Comments
(Atom)
My Blinkie

I CT for


0 comments:
Post a Comment